


Web designers reported median salaries of just under $74,000 in 2018.
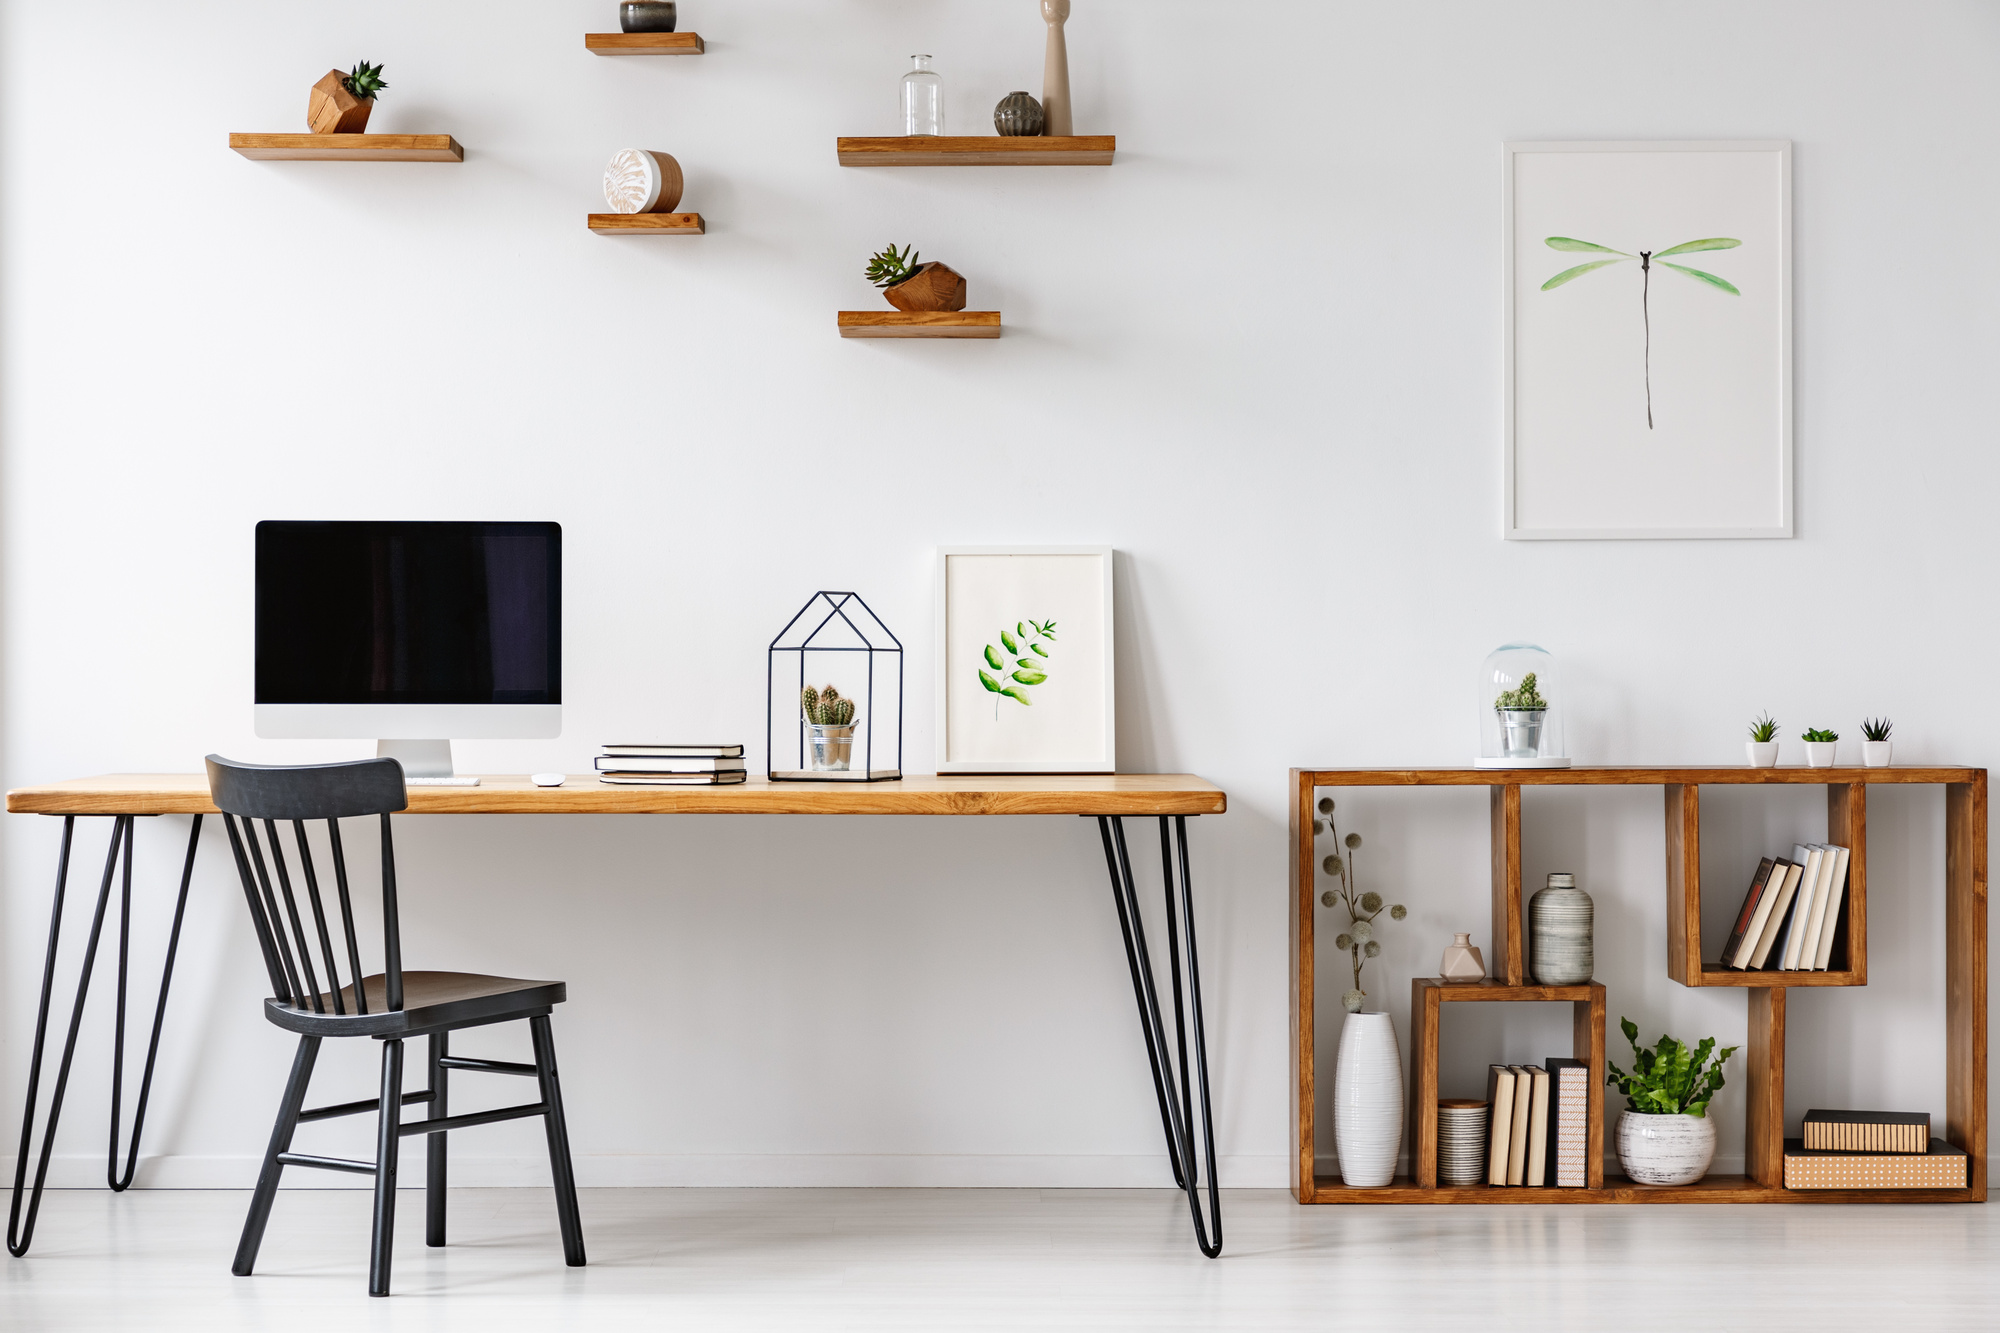
Perhaps you want to get some practice in on your own web development design business. Or maybe you just want to save yourself the cash by being able to design your own personalized layouts.
That isn’t surprising since more people desire personalized websites to express themselves.
Building a website design template gives you confidence and the freedom to customize content on a solid bedrock.
Why a Website Design Template?
Browsing through creative templates you may notice some trends. Clean navigation and a moving eyeline may be design 101 but the zest surrounding them changes constantly.
Learning to build a core template that can be modified and repackaged for purpose gives you both freedom and power in making your website memorable.
The following 8 steps walk you through the process of starting from scratch and delivering a tight, workable end product.
Steps
You may find yourself backtracking once or twice as your ideas change, but the order presented here has merit in keeping the workflow clean and problem free.
1. Define the Purpose
Before you can decide on your web templates design, you have to decide on a purpose. What do you want the website to do? Who do you expect to visit the site?
Defining the purpose of the website will do a lot to help you find a design. Form, after all, follows function.
Consider if the template will need more room for text or pictures. Pictures and graphics can leave more room for vibrant and moving components. Text needs neutral territory to sit in so it will be readable without other distractions.
An e-commerce site will need to have strong indicators for the checkout and navigation tools. A service site will need to stay on-message and have clear about and contact areas.
2. Choose Colors
Once the purpose has been set, creative websites look to establish a signature theme. Consider the major company websites you may have visited in the past. Many of them will have distinct color patterns which help remind you where you are, even when you are not on the homepage.
Colors should reinforce the purpose without detracting. Look to color theory here to avoid sending the wrong message or establishing an incongruous mood.
3. Choose Typography
The typeface does the next bulk of the work within your web template’s design. Typefaces convey mood and meaning. They also add to or restrict readability.
Sites with a lot of words will need to be conservative on the typography, choosing only 2 to maintain legibility. A graphic or photo heavy site can get loose with a few options that fit the intentions or impressions of the art itself.
Typography shouldn’t become stale, so avoid the most overused typefaces, especially those used to convey a particular setting or timescape such as Papyrus or ComicSans.
Nobody wants to see those continuing to thrive.
4. Rough It Out
Now that you have web templates designed and ready go you need to transfer those ideas into a draft so you can see them in context. Some designers work through this on paper, others use design programs.
Regardless of your choice, you will want to go through the following phases to lock down your ideas.
Logo
The logo will likely float or appear on every page, you want something striking and memorable without being distracting.
Textures
Gradients and effects applied to the background can apply a texture to the color scheme. Consider how elements sitting on top will look, especially when viewed on smaller screens.
Navigation
Navigation toolbars and elements should be easy to see and discern from content elements. Make sure also that the navigation comes across as intuitive with clear signs of how to get back to the homepage.
Content Areas
Finally, content areas should be at least 2/3rd of the actual space after other elements. You don’t want the site to be so busy that a casual visitor will get lost in what they are looking at.
5. Revise
Once the template has been roughed out, review if it does what you hoped. Often times seeing the rough layout will start telling you if your vision exceeds your reach.
Some areas may look too sparse. Others may appear too busy.
Adjust as you need to and redraft before committing to the last set of steps.
6. Create the Page with HTML
Whether you use a WYSIWYG builder or craft it yourself coding takes some doing and can change some of your features. part of why you rough things out is to see the elements in conjunction with each other.
This will help you to create more thorough notation in the coding phase which also helps you spot problems and debug.
Testing may also show that a page loads slowly. If you can’t figure out ways to make the code lean and the page load smoothly, you may have to remove elements and replan.
7. Create the Style Sheet with CSS
Creating a CSS style sheet enables you to add more pages to the site over time and ensure that all of the same elements you have carefully chosen up to this point translate across.
CSS editing can also be used later to swap up some of the design for other purposes. When building for website inner page designs a smart CSS will keep the template consistent in feel without being rigid in presentation.
Consider day and night modes for various pages to give better readability depending on expected lighting conditions.
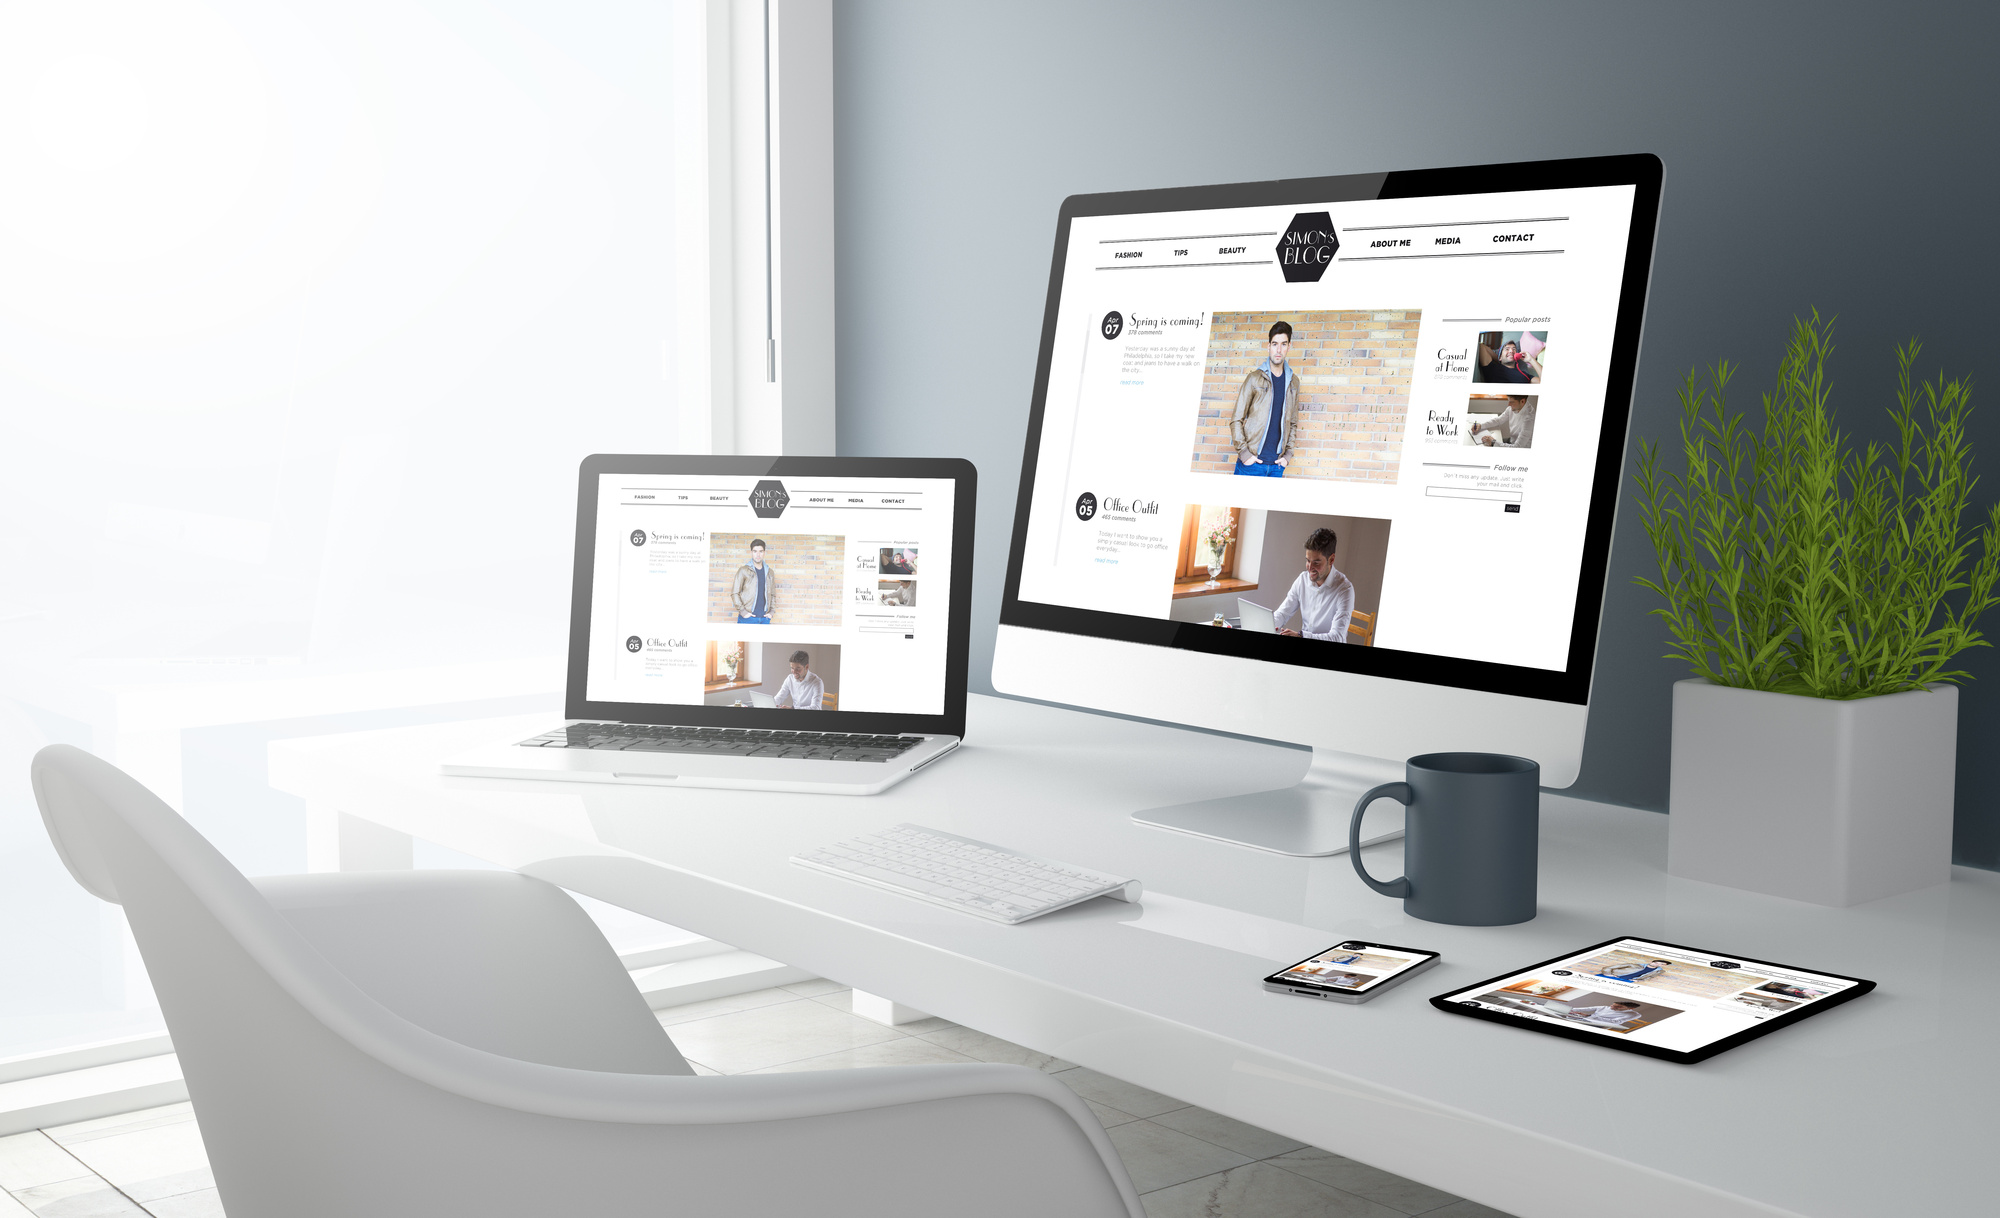
Mobile design also should be considered when laying down the CSS.
8. Duplicate HTML Page for Content
With everything in place, you can now duplicate and rename each page as you add content. This step can be repeated for every page needed in making the whole site complete.
Leaving clear documentation in the HTML gives others that may purchase the template able to see how it was built and what they can change. If for personal use, good documentation will also remind you down the road what goes where.
More Ideas
Building a creative web design template doesn’t have to be difficult. Check back through our blog for more ideas and constant updates on all things design.
Looking for some inspiration, check out our gallery section to browse through designs.